How to setup ssl
How to activate SSL for NGINX on an EC2 instance using namecheap
Purhcase a cert in namecheap
- Select the type of certication that you need and follow the prompts until you have purchased the certificate.
- Once you have done this, navigate to SSL Certificates and click
Activatefor the newly created Cetificate:

Generate your certs
- Using
openssl, generate a CSR:
openssl req -new -newkey rsa:2048 -nodes -keyout sample.com.key -out sample.com.csr
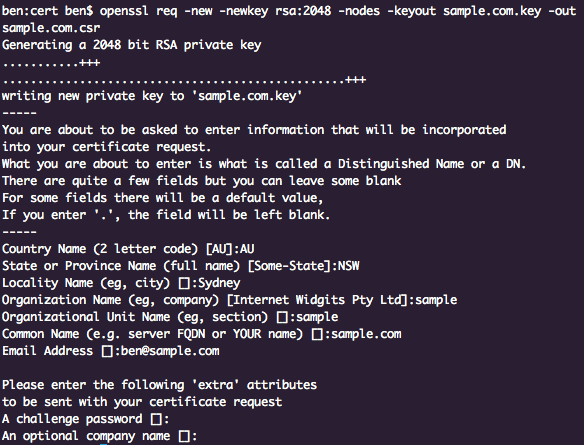
Note: Common Name (e.g. server FQDN or YOUR name) [] is very important here. It must be the full domain name, i.e. if it is for www, include www.
- Copy the csr text to namecheap and click next.
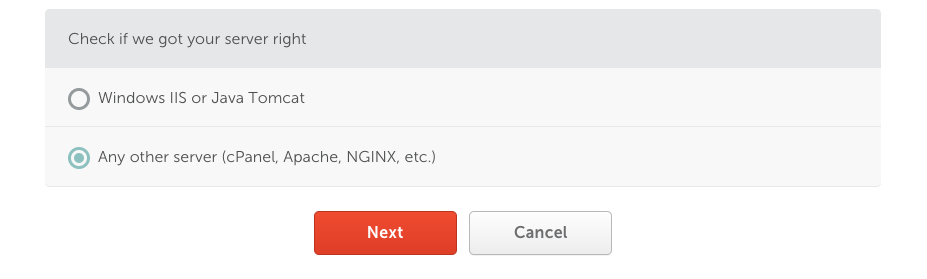
- Select
Any other server (cPanel, Apache, NGINX, etc.)and clickNext:
- For the DCV Method, select
HTTP-basedand download the relevant file. - Make sure you include your email address when prompted, you will need this to receive the approved SLL certs upon success.
- You’ll be redirected to a Certificate Status page, near the bottom click
View Details - Halway down the page you’ll see a
DCV Methods in Usesection, click the drop down and clickDownload File

Obtaining Domain Control Validation via HTTP means you will need to place the donwloaded file into a specific location on your website.
When you have placed this in the correct location, click Edit Method and Retry Alt DCV when prompted.
If all went well, upon validation, you will receive an email with an associated ZIP file.
This zip file contins sample_com.crt and sample_com.ca-bundle.
sample_com.crt is your certificate, while sample_com.ca-bundle is your
cat email-sender_prescoapps_co.crt email-sender_prescoapps_co.ca-bundle > email-sender_prescoapps_co-bundle.crt