Simple Travis CI
This is a simple explanation of how to use Travis CI for a simple package.
Login into TravisCI and register your account.
Add a public repo and activate it:

Turn on Build only if .travis.yml is present
Add a .travis.yml file to your repo base:
language: node_js
node_js:
  - "stable"
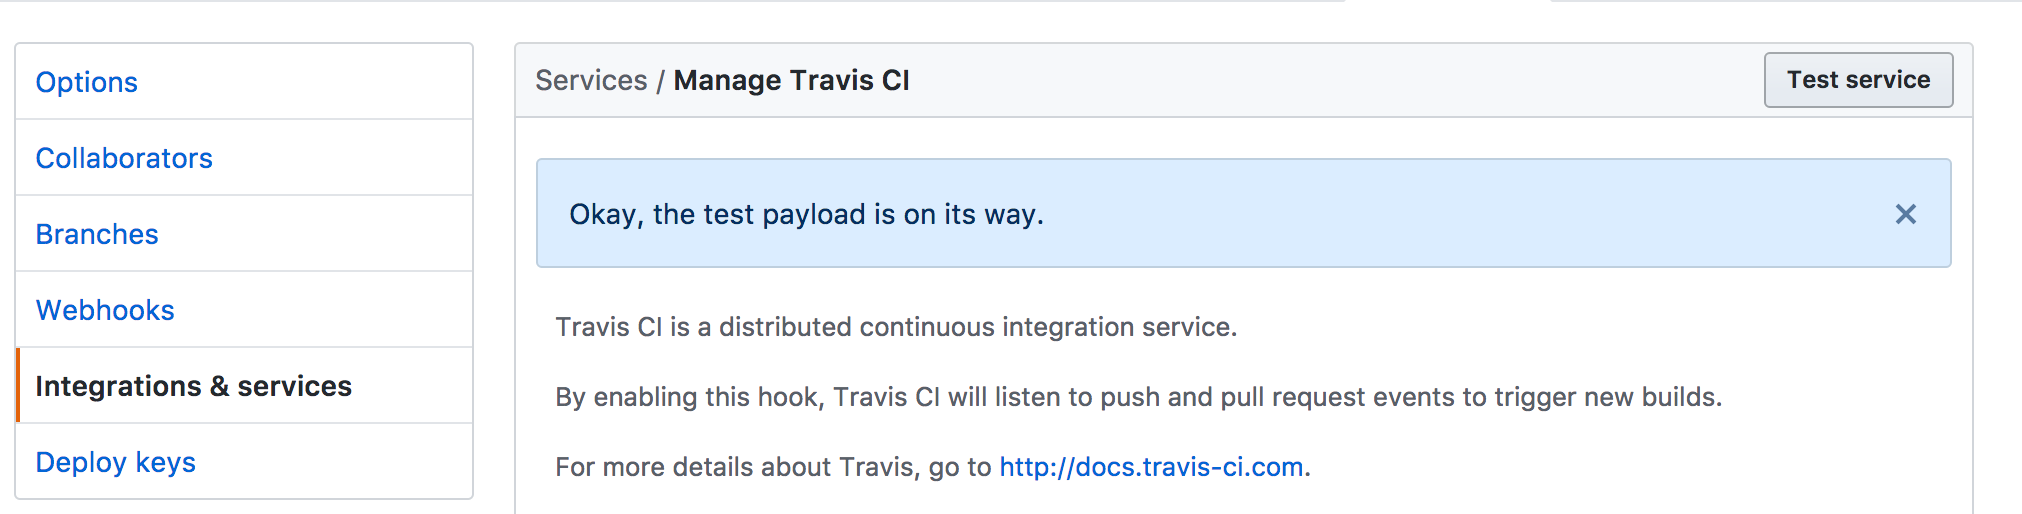
On github in Integration and Settings click Test service:
If you then go to Tavis-ci to view your test results, you may notice an error such as this:
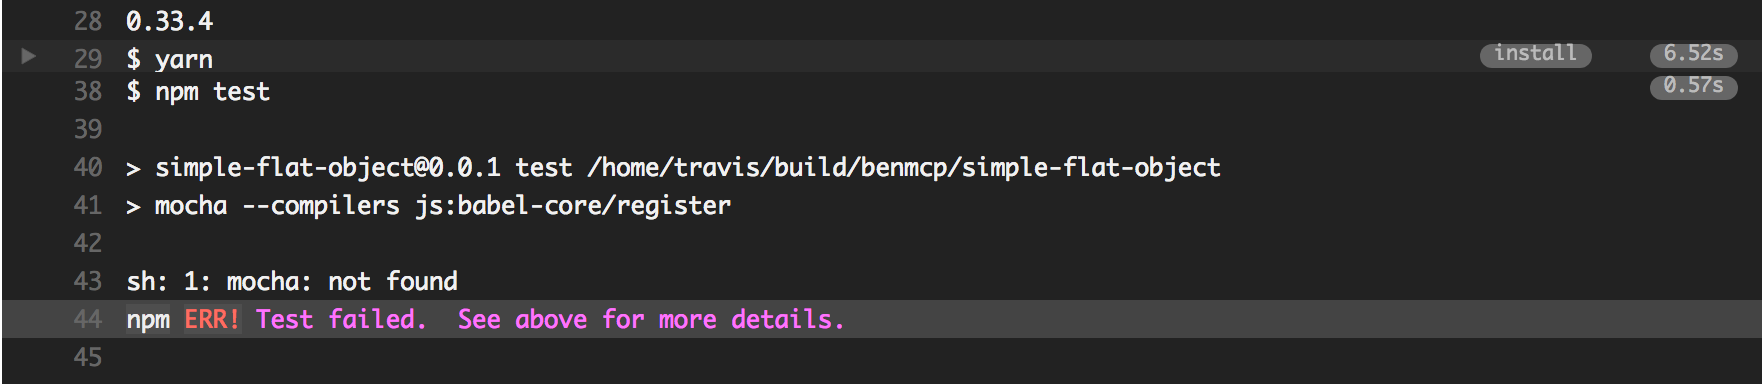 Also note, though we only had
 mocha installed locally, Tavis CI will look for a .bin/ executable of mocha, namely:
./node_modules/.bin/mocha
Setting ths up with Slack
It is all good and well that we have Travis CI checking our code, but we want to know when this fails.
The best way to do this is to integrate it with Slack.
Click the following link to instal Travis CI to your slack workspace.
You will then be prompted with a simple addtion to your .travis.yml file which will send notifications to slack:
 notifications:
    slack: workspace:XXXXXXXXX
Then, then you complete a git push, you will receive a notification from Travis CI in your allocated Slack Channel that all tests have been passed or failed:
